- Home
- Rag Quilts
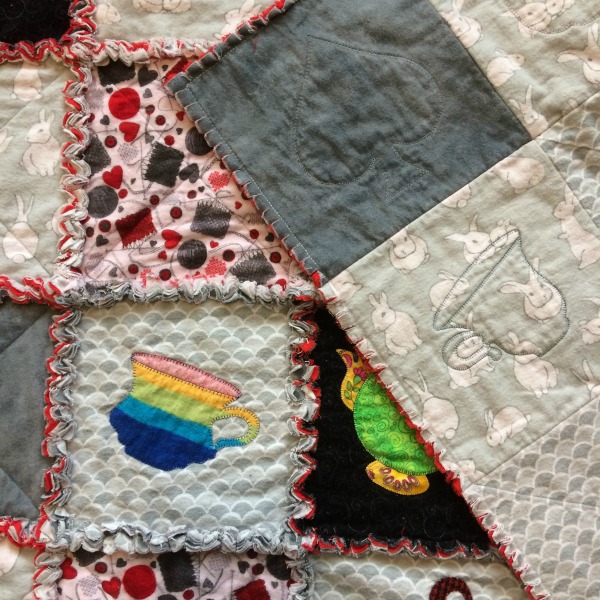
- Applique Rag Quilt
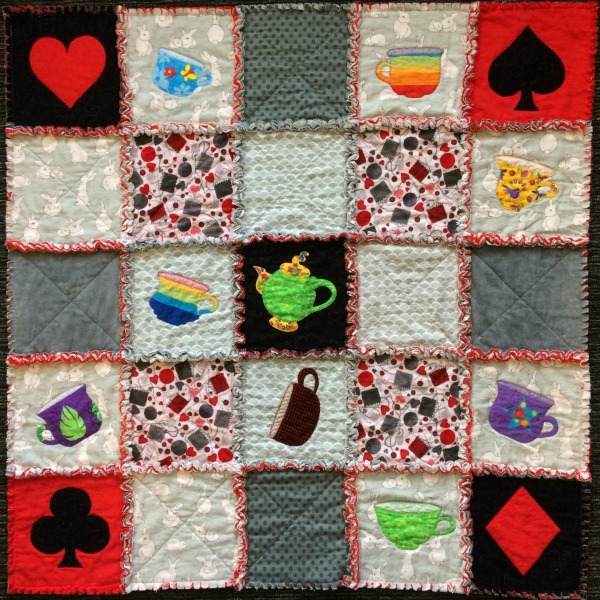
Stunning Applique Rag Quilt
Learn How to Make Your Own
Welcome to my applique rag quilt tutorial, where you can learn how to create your own raq quilt with or without an applique design added.
I have included short video tutorials showing how to make your own applique rag quilt. They cover the following steps:
- Fabric selection
- Block construction without an applique
- Block construction with an applique
- Sewing your blocks together
- Sewing strong outer edges of the quilt
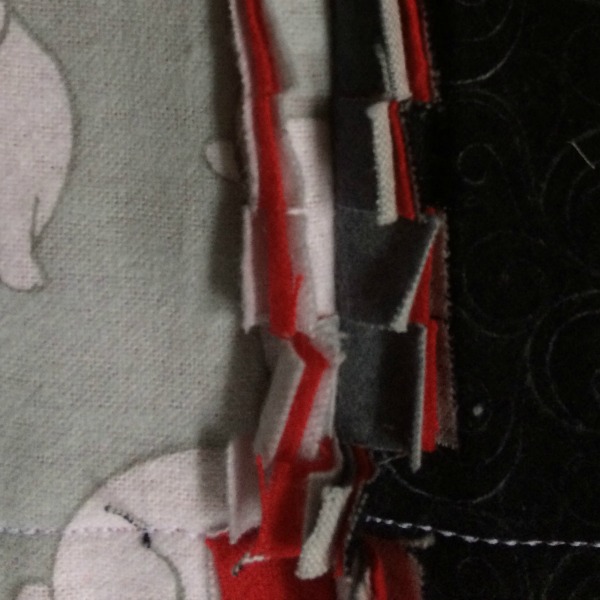
- Clipping raw edges
- How the magic happens
Equipment to make your own Applique Rag Quilt
- Fabric - I use flannelette - any fabric 100% cotton will work
- Thread
- Scissors
- Rotary cutter & Mat
- Sewing machine
- Open toe foot
- Walking foot - optional
You can buy ragging shears and they do save your hands but they are definitely optional.
As for the amount of fabric you will need that really depends on how many different fabrics you will be using, your block size and how many blocks you plan to have. For my Alice in Wonderland Rag Quilt I used almost 5meters of fabric in total.
Fabric Selection
When using flannel to make your rag quilt there are 2 types on the market.
- Prints - these have a colourful right side and a white wrong side
- Solids - these are a single colour & there is no right/wrong side of the fabric
I recommend using the printed flannel for the top and back of each block. Then use the solid flannel for the middle of each block. Doing this will give more colour showing through on the ragged edges that are on show. If you want more white in your ragged edges then use a solid white or alternatively you can use your printed flannel. There is no right or wrong way to do this - just personal choice.
Remember to keep all your scraps of flannel as these make great applique fabrics for your next one and can also be joined with other fabrics to make up a block - this looks stunning!!
Block Construction - without an applique
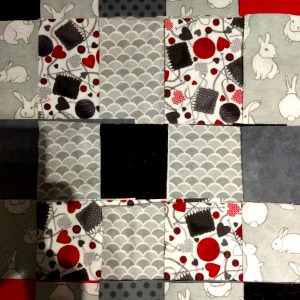 1. Cut out your fabric so that you have 75 squares. I cut mine 9"x9" but any size will work. 1. Cut out your fabric so that you have 75 squares. I cut mine 9"x9" but any size will work. |
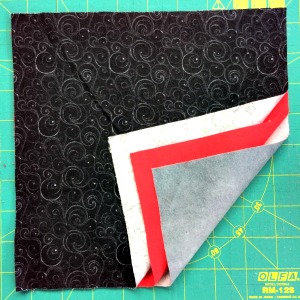 2. Arrange fabrics on a flat surface ensuring there are 3 squares in each pile. I have placed my solid colour fabric in the middle - this ensures I have more colour in the rag edges when the quilt is finished. 2. Arrange fabrics on a flat surface ensuring there are 3 squares in each pile. I have placed my solid colour fabric in the middle - this ensures I have more colour in the rag edges when the quilt is finished. |
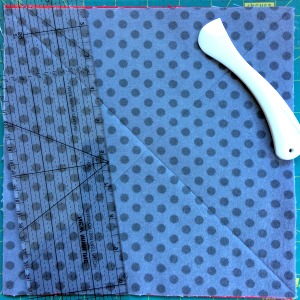 3. Using a hera pen mark the diagonal lines on those blocks that are not having an applique added. 3. Using a hera pen mark the diagonal lines on those blocks that are not having an applique added. |
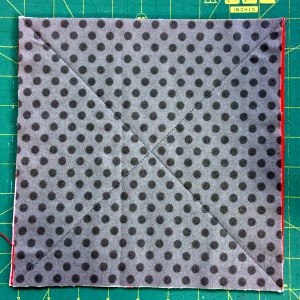 4. Using a slightly longer stitch than normal (I use 3) stitch along the marked lines creating a cross. 4. Using a slightly longer stitch than normal (I use 3) stitch along the marked lines creating a cross. |
Now you are ready to complete all your non-applique blocks.
Block Construction - with an applique
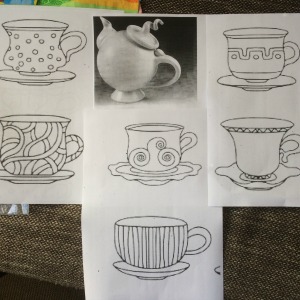 1. Source your applique designs. I like to use google & this is what I searched for... Alice in Wonderland teapot drawing and teacup drawing. Resize them as needed and trace them onto steam-a-seam or similar. 1. Source your applique designs. I like to use google & this is what I searched for... Alice in Wonderland teapot drawing and teacup drawing. Resize them as needed and trace them onto steam-a-seam or similar. |
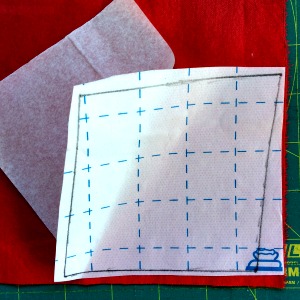 2. Peel backing off steam-a-seam and place on the wrong side of your fabric. Iron in place. Cut around the applique. 2. Peel backing off steam-a-seam and place on the wrong side of your fabric. Iron in place. Cut around the applique. |
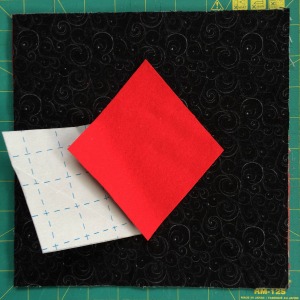 3. Peel off the 2nd backing paper and position the applique piece onto your block. Iron to secure. 3. Peel off the 2nd backing paper and position the applique piece onto your block. Iron to secure. |
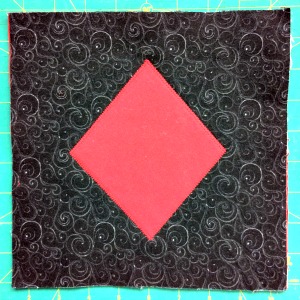 4. It's now time to sew your applique in place. I like to use a blanket stitch and set my stitch width/length almost as small as my machine can make it. 4. It's now time to sew your applique in place. I like to use a blanket stitch and set my stitch width/length almost as small as my machine can make it. |
Sewing The Blocks Together
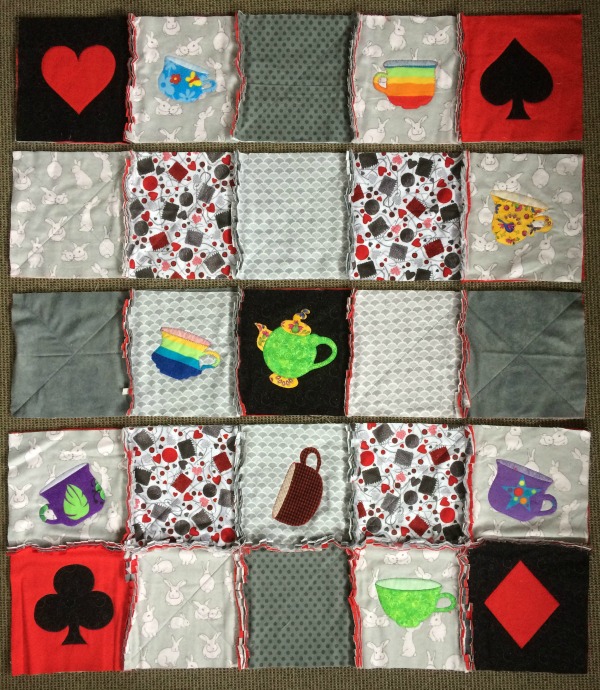
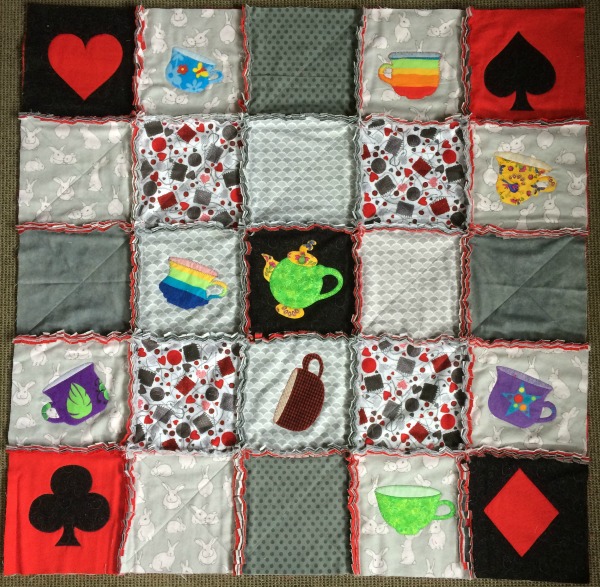
When sewing all your blocks together to make up your applique rag quilt remember that you are wanting to have the rag edge show on the front of the quilt so you will be placing each block and row with their backs together!! This feels very strange at first.
|
1. Arrange your blocks on a flat surface remembering to check both sides of the quilt, especially if you are using any one way fabric design. Using a 1/2" - 3/4" seam allowance sew your blocks together placing backing sides together to form a completed row. Clip seams as you go, taking care to not cut through the stitching. |
2. Using a 1/2 - 3/4" seam allowance sew your rows together, again placing backing sides together and matching seams. I open my seams for sewing as this creates a more even fray/rag effect as well as being easier to sew. Again clip each row as you go. |
|
3. It's now time to stitch around the outer edge of you quilt. Using a triple stitch (one that goes forward-back-forward) stitch around the outer edge using the 3/4" seam allowance as you used before. |
4. Lastly it's magic time! Wash your applique rag quilt and then dry in the drier. This process creates a lot of lint! Take your rag quilt outside and shake to remove the excess threads. |
You are welcome to subscribe to my YouTube channel All About Quilts.
Below are the links to the videos shown above.
Rag Quilts Choosing the Fabric
Sewing a Rag Quilt Applique Block
My Amazon ads are my affiliate links. Thank you.
- Home
- Rag Quilts
- Applique Rag Quilt



New! Comments
Have your say about what you just read! Leave me a comment in the box below.