- Home
- Easy Quilts
- Borders
Borders
Lesson 6
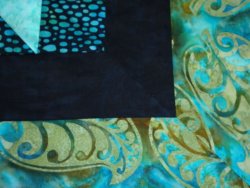
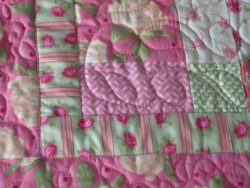
Borders play a major role in setting off a quilt. They can be made of a single strip of fabric or they can be made with multiple strips of fabric. There are no rules dictating the number you attach or the widths you choose to use. Again it is personal choice.
When you are ready to begin adding them but haven't yet chosen your fabric then have fun auditioning different fabrics. I have found doing this at quilting shops a lot of fun. You may find that you want to add a narrow strip in one fabric and then a wider strip in a different fabric. So many choices and so much fun!
There are two main types that most quilters use.
First is the mitered, this refers to the way the corners are sewn.

Next is the strip. This is where four strips of the same fabric are sewn on around the quilt. The strip is the simplest of these to do.

Below is the method I use.
1. With the quilt top lying out flat take three measurements vertically (one at the top, one at the middle and the last at the bottom) to determine the average measurement of both sides.
2. I have found it best to cut all strips on the lengthwise grain as there is less stretch and this stops the wavy edge that you sometimes see on finished quilts. Remember to first remove one selvage edge.
3. Cut opposite strips the same length allowing 1/4" for seam allowance. Sew on and press.
4. Measure three times horizontally, (one at the top, one at the middle and the last at the bottom). Take the average measurement and cut strips to match allowing 1/4" for seam allowance. Sew on and press.
My Amazon ads are my affiliate links. Thank you.
- Home
- Easy Quilts
- Borders


New! Comments
Have your say about what you just read! Leave me a comment in the box below.