Felt Easter Egg
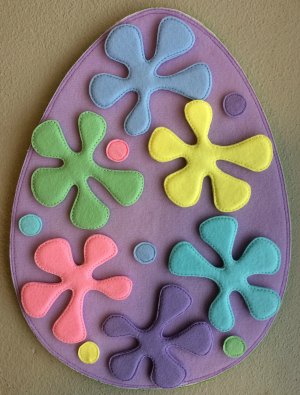
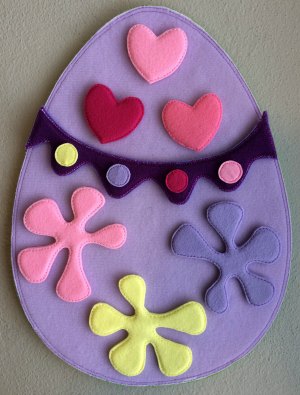
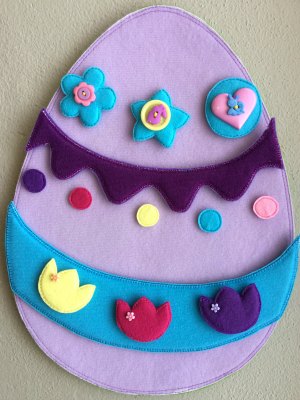
This cute felt Easter egg is created by making a range of felt accessories to place on the egg. They are secured on by a piece of velcro tape sewn on the back of each one.
- Hearts
- Flowers
- Stripes
- Circles
For a more detailed list of tips to help you sew felt visit here.
To see how to make the felt Easter chicken base egg shape that all the pieces go on then visit Felt Easter Eggs.
Here is where you can see how to make the Felt Easter Bunny accessories.
Here is where you can see how to make the Felt Easter Chicken accessories.
Pattern Now Available
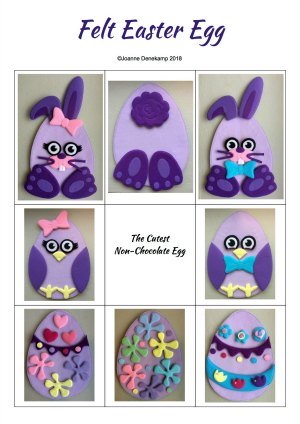
THIS IS A PDF DIGITAL DOWNLOADABLE E-PATTERN.
No physical pattern will be shipped or mailed.
Supplies
To make these egg accessories you will need:
- Felt
- Double sided fusible webbing
- Firm interfacing
- Velcro tape -hook side
- Freezer paper
- Buttons

Felt Easter Egg Video Tutorials
How to make your felt decorations
How to embellish your decorations with buttons
How to make your small felt circles
How to make two different shaped stripes
Instructions
Each of the felt Easter egg accessories is made the same way. Below is an outline detailing the steps you need to take.
Step 1:
Trace pattern pieces onto freezer paper
Rough cut out
Iron freezer pattern piece onto felt
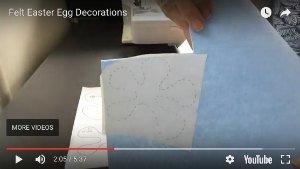
Using freezer paper gives you the most accurate shaped felt piece. Alternatively you can tape your pattern piece onto the felt with scotch tape. The benefit here is that your pattern pieces become stronger with each use
You only need to use a warm iron setting for this step. If you prefer to use a hot iron then use a pressing cloth
Step 2:
Cut out
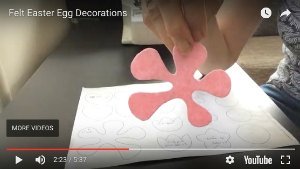
When cutting felt it is best to use sharp scissors that can cut right to the tip
Step 3:
Iron freezer pattern piece onto firm interfacing
Cut out 2mm smaller than the pattern
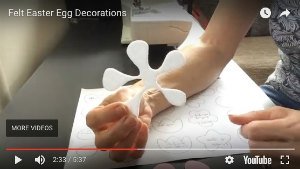
Using firm interfacing gives these pieces extra strength & durability
This is important for the big pieces - wings and bow
It is cut smaller than the felt so that it doesn't show around the edges of the completed felt shape. Doing this also creates a nice 3D effect when the piece is finished
Step 4:
Combine retro flower felt and firm interfacing
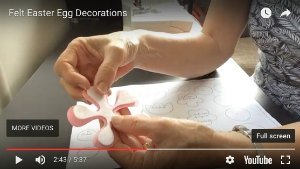
Check you have 2mm clearance for your stitching and re-trim where necessary
Step 5:
Place a small piece of fusible webbing on each petal between the layers
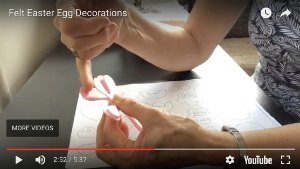
Double sided fusible webbing not only adheres everything together it also increases the strength of the finished felt piece.
Step 6:
Iron together
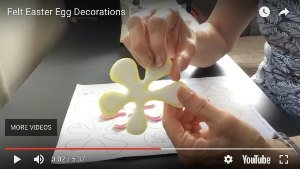
A hot iron (& pressing cloth) is needed to melt the webbing due to the thickness of both the felt & interfacing
Step 7:
Add velcro to backing felt
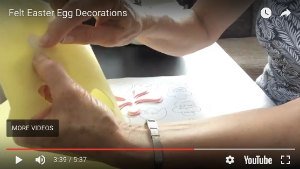
To check your velcro position on the backing piece of felt hold it up to a window or other light source
When stitching your velcro on use a matching thread to the velcro colour
Step 8:
Use fusible webbing to secure the front felt piece with firm interfacing onto the backing felt
Iron to secure
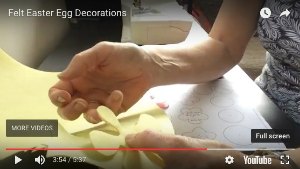
Remember to check that your velcro piece placement is central
Use a hot iron & a pressing cloth here
Step 9:
Stitch all layers together around the edge
Trim away excess felt backing
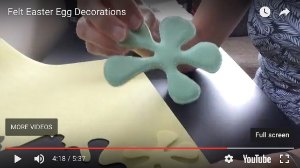
Use a slightly longer stitch than normal and sew close to the outer edge (1-2mm)
You should only be sewing through 2 layers of felt
Again use sharp scissors here and take care to not hold your scissors on an angle or you may find that you have cut through your stitching line on the back.
Step 10:
Add any extra embellishments
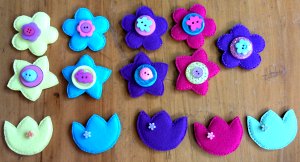
You may like to add extra accent lines to some of your pieces.
When doing these you may need to increase the size of your sewing machine needle (100/16 or a Jeans needle) especially if you need to sew through the velcro
Or you may like to add beads or buttons...


New! Comments
Have your say about what you just read! Leave me a comment in the box below.