- Home
- 52 Week Challenge
- Week 21
Joannes Designs Week21
My Flower Garden 65" x 65"
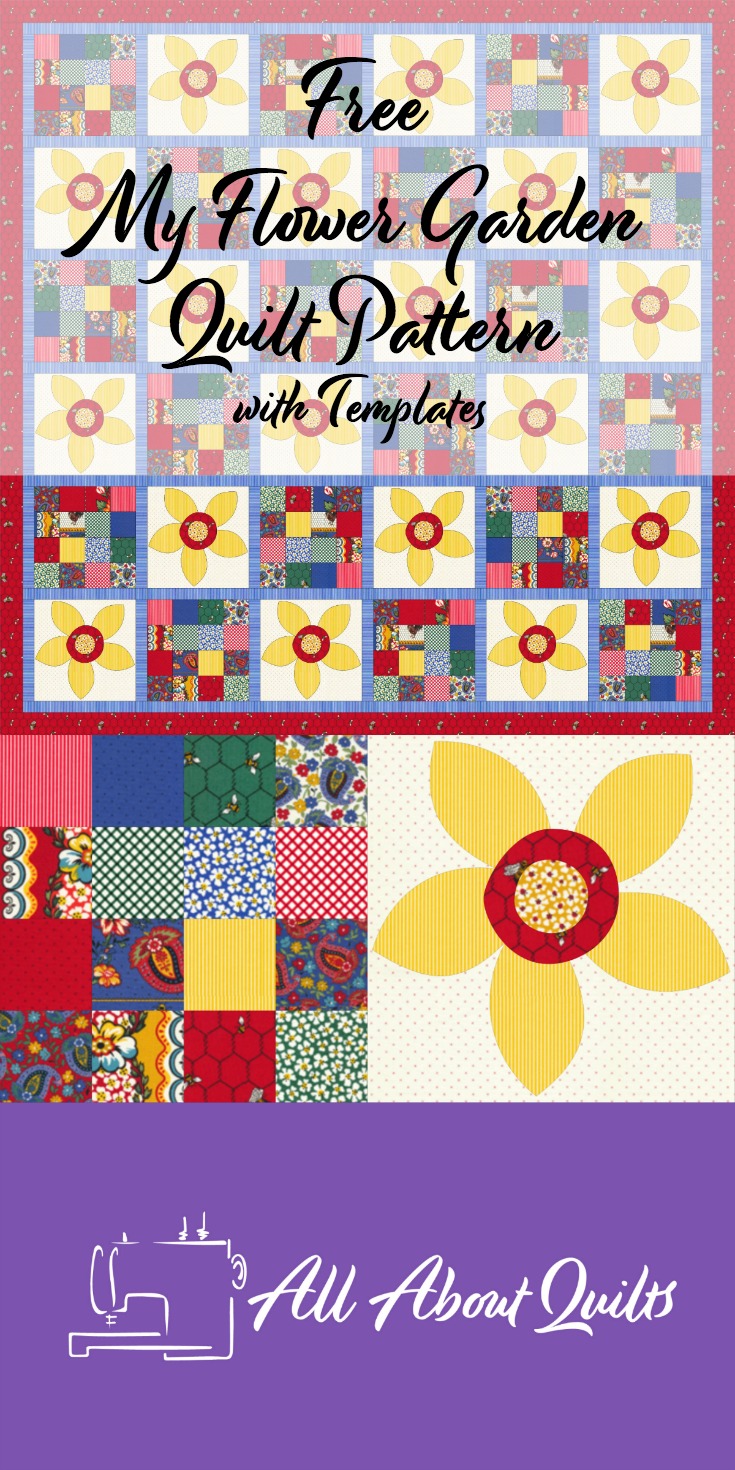
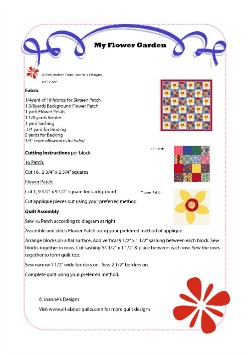
Joannes Designs Week21 'My Flower Garden' a quilt design I created using two different blocks.
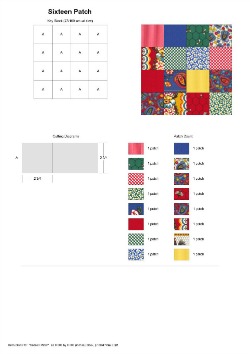
The first is a simple 16 patch block where each piece within it is the same size and the other block is a simple flower applique block.
I have kept the background fabric of this block very light and the applique flower nice and bright.
The finished size of this quilt makes it an ideal throw quilt. To make it suitable for a bed quilt you will need to add 2 extra rows bringing the finished size to 65" x 85".
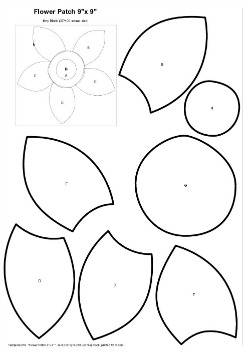
To make this quilt you will need to make 36 blocks, 18 sixteen Patch and 18 Flower Patches. Each block is finished at 9" x 9" and are easily cut using the rotary cutting guide and the applique templates below.
 |
 |
When making the 18 appliqué flower blocks it is best to read the
manufacturers instructions for the bonding web you use. My personal
preference is Steam a Seam. I also like to use an Appliqué Pressing
Sheet. These are fantastic as they keep your ironing board clean as well
as allowing you to place the appliquéd flowers centrally on the block
as they are see through.
For a more detailed explanation of how to create an appliqué visit my appliqué tutorial.
To download Joannes Designs Week21 pattern, rotary cutting block guide or applique templates click on the relevant image below.
My advice when making this quilt:
When doing appliqué I find it best to stabilise your backing fabric first. This will stop the puckered edge from happening when you are stitching on the flowers. The easiest method is to use spray starch (available at the supermarket). Here is how I do it:
1. Cover ironing board with an old towel or similar.
2. Spray a light coating of starch on background 9 1/2" square then iron with a dry iron.
3. Repeat till fabric resembles very fine card. Usually 2 or 3 applications.
You can do this to all the backings at the same time. Once your quilt top is finished most of the spray starch will have gone.
To make your appliqué here is what I use & do:
1. Trace around the appliqué templates onto steam-a-seam. Rough cut each out - not on the lines but about a 1/4" or so away.
2. Peel off & discard the paper backing that doesn't have the pattern drawn on it. Then place the template on the wrong side of fabric. Press.
3. Cut out carefully along lines.
4. Peel off the second paper and discard. Position flower pieces right side facing centrally onto the right side of the 9 1/2" background fabric. Press.
5. Machine stitch around the appliqué using your preferred stitch. I use a blind stitch in matching thread.
6. Once all 36 blocks have been made, first trim them so they are all the same size. I find using a rotating cutting mat makes this job easy and accurate. I have shown the one I like to use below. Then lay them out on a flat surface and rearrange them if necessary. Place sashing between each block vertically.
7. Sew six blocks & their sashing together to create each row. Six rows in total. No sashing at either end of the row.
8. Cut horizontal sashing 54 1/2" x 1 1/2". Now sew the rows & sashing together to form the quilt top.
9. Remember to measure your finished quilt top in three places before cutting your narrow & wider border strip lengths. The wide border is 2" wide finished so remember to cut your border fabric 2 1/2" wide.
10. I have designed the binding to be double fold and allowed for this in the fabric yardage. Cut binding fabric into 2 1/2" wide strips.
I hope you enjoyed Joannes Designs Week21. Just 31 patterns to go!
My Amazon ads are my affiliate links. Thank you.
- Home
- 52 Week Challenge
- Week 21

New! Comments
Have your say about what you just read! Leave me a comment in the box below.