- Home
- 52 Week Challenge
- Week 24
Joannes Designs Week24
Stars In Batik 64" x 64"
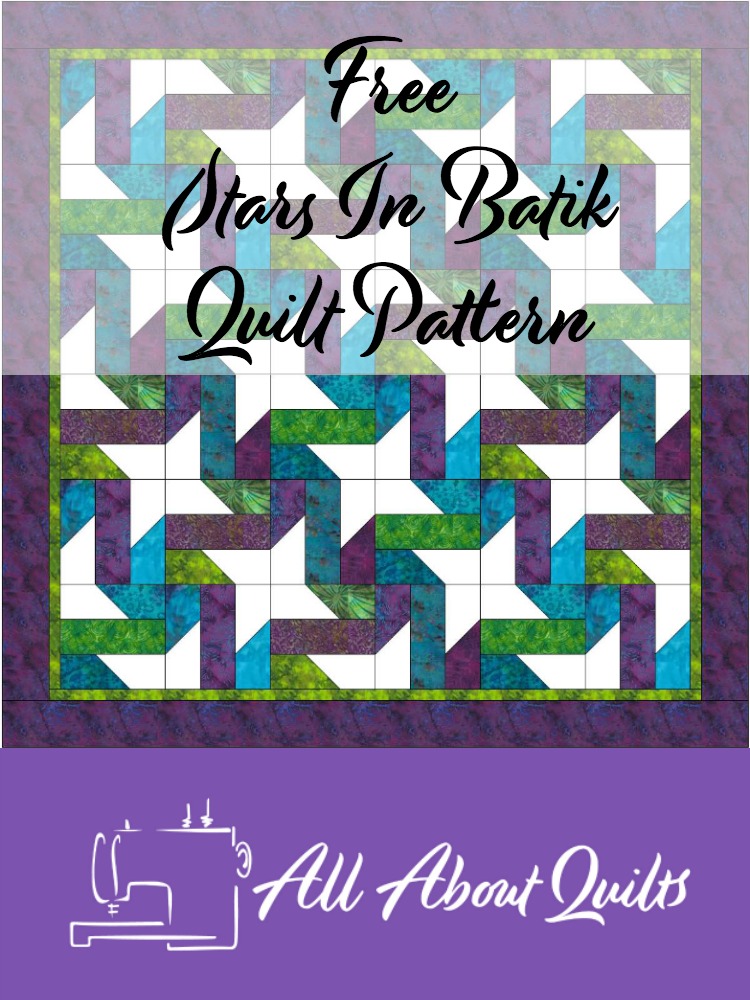
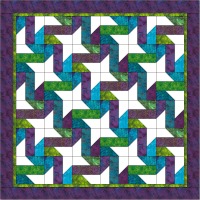
Joannes Designs Week24 'Stars In Batik' a design I created using the very versatile nine patch block.
I saw a similar quilt on the web and initially thought it was quite a complicated quilt. After some pondering and a few sleeps I realised that it was probably based on the nine patch block - so off I went to EQ7 and had fun playing.
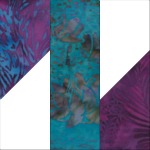
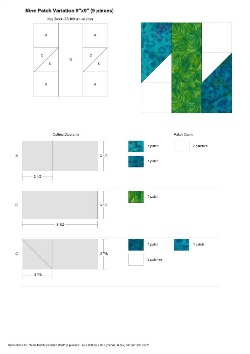
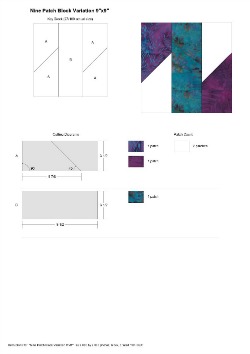
You will notice that I have added two rotary cutting guides. The first one is the simpler version that allows you to make the block from squares and half square triangles, shown in the left block below. The second version doesn't use as many seams so that each block is made from 5 pieces rather than 9 pieces, shown in the right block below.
 |
 |
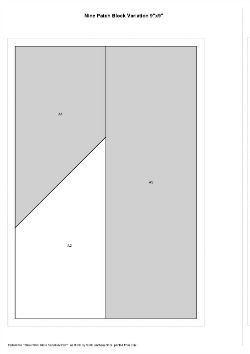
As an alternative to this method I have also added a foundation piecing pattern for those that prefer that method, for the block shown on the right above. Which ever way you make the quilt both will be stunning!
To make this quilt you will need to make 36 blocks. Each block is
finished at 9" x 9" and is made using one of the guides below. The inner
border is cut 1 1/2" wide to finish at 1" wide and the outer border is
cut 4 1/2" wide, finishing at 4" wide.
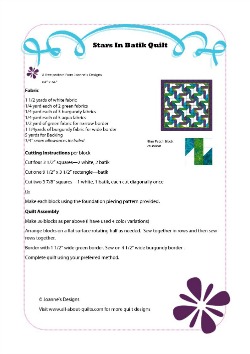
To download the Joannes Designs Week24 pattern,
rotary cutting block guides, foundation piecing pattern or fabric
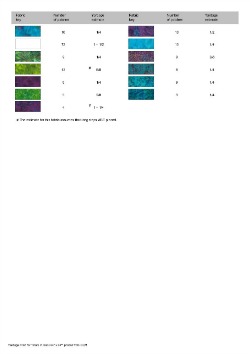
yardage guide click on the relevant image below.
My advice when making this quilt:
Take care when cutting your fabrics to ensure that your seams match up at the sewing stage. It is amazing just how easy it is to cut a bit too wide and then wonder why you are having problems matching your seams!
As this quilt has two borders I have added the instructions I was taught at my quilting group to add borders accurately:
1.
Measure the quilt from top to bottom through its vertical center point.
Repeat twice more - once on the left and then the right of the center
point. Add these lengths together, and then divide by 3 to obtain the
average length. Cut the borders this length. I like to cut my borders on
the straight of the grain as there is almost no stretch in the fabric
and hence the borders lay flat. You can also cut them across the grain,
but remember there will be a bit of stretch in the fabric.
2.
Pin side borders on first beginning at the center point of both the
quilt and border, right sides together (find the center point of both
and finger press). Pin the top & bottom of the border to the quilt.
Continue pinning the border to the quilt and ease in any fullness you
may need to. The amount of pinning you need to do depends on whether you
have much fullness to ease in. More fullness = more pins.
3.
Sew using a 1/4" seam allowance, removing pins as you approach them. I
have heard that it is best to sew with the fullest part of the quilt
closest to the feed dogs.
4. Add the other side border using the same method.
5. Repeat the measuring process but horizontally. Sew top and bottom borders on.
When I learnt this method I never had a wavy edged quilt again!
I hope you enjoyed Joannes Designs Week24. Just 28 patterns to go!
My Amazon ads are my affiliate links. Thank you.
- Home
- 52 Week Challenge
- Week 24


New! Comments
Have your say about what you just read! Leave me a comment in the box below.