- Home
- 52 Week Challenge
- Week 46
Joannes Designs Week46
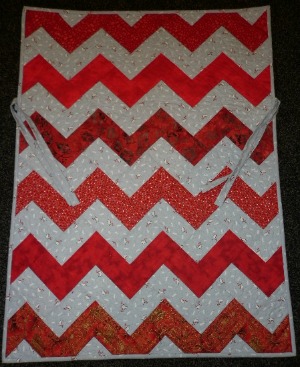
Chevron Car Seat Quilt 26" x 32"
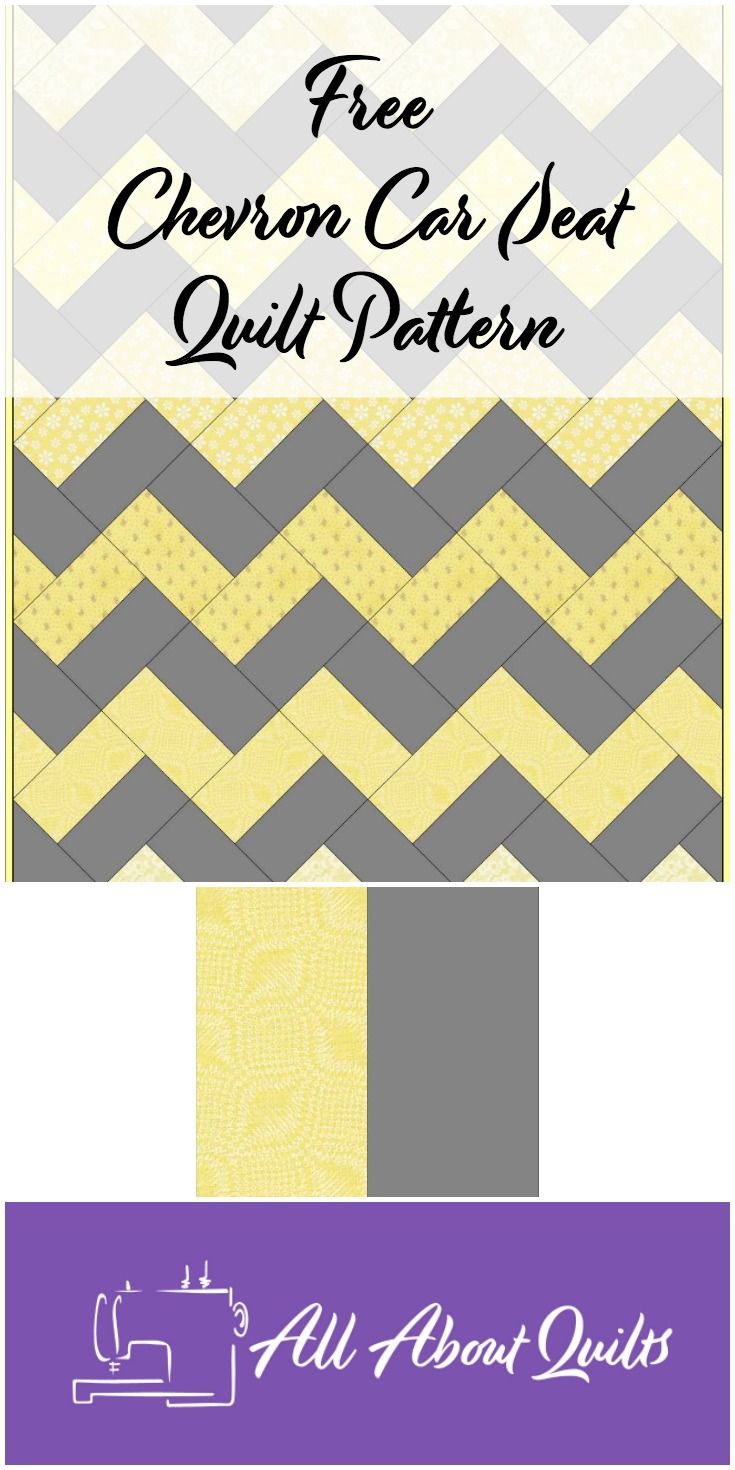
Joannes Designs Week46 'Chevron Car Seat Quilt' a very small quilt designed for my new grand daughters arrival. Last week I came across a Moda Bakeshop pattern Sophie Car Seat Quilt for a very cute car seat quilt that I am in the throws of making. It is truly adorable and my daughter said she would love one for her wee arrival in a few months when I showed the picture to her.
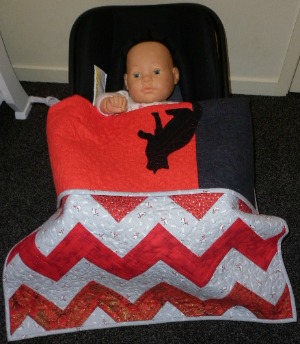
I also have a niece expecting so decided to make another one but in a different design. I've always been drawn to the chevron quilt design so I have designed this wee quilt using a chevron design. I would have made this from half square triangles until yesterday, when I came across an alternative method with tutorial by AmandaJean of Crazy Mom Quilts.
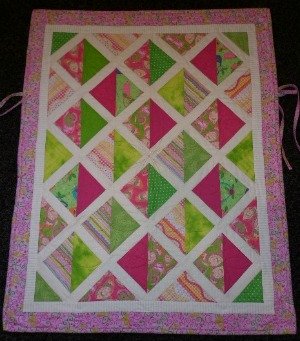
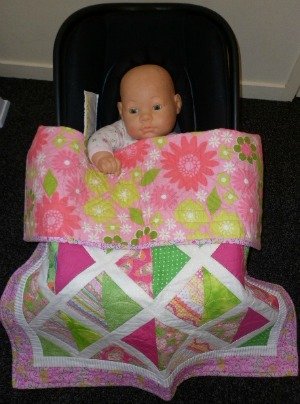
Below are the two wee quilts I have made for my daughter and for my niece. As the baby's aren't born yet I used my grand daughter's doll. The car seat in the photo is one of the smaller sizes. I used flannel fabric on the back to make them a little more cozy!
 |
 |
 |
 |
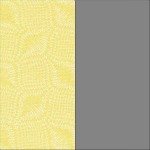
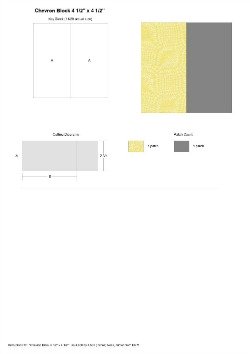
Below I have shown the one block used to make this quilt. It's finished size is 4 1/2" square.
 |
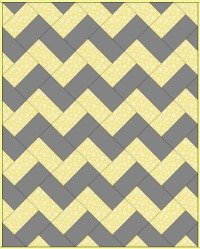 |
To the right of this block is another chevron quilt designed using only 2 fabrics. If this is your preferred choice then you will need to buy 5/8 yard of each fabric plus binding and ties.
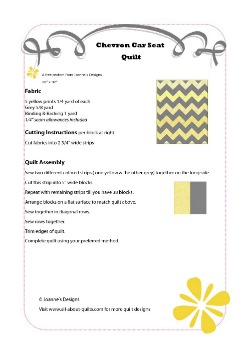
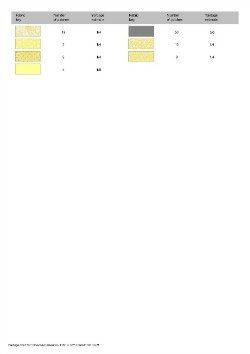
To download the pattern, fabric yardage guide or block rotary cutting guide click on the images below.
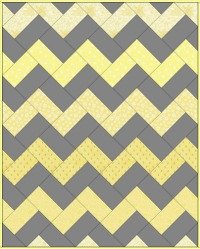
My advice when making this quilt:
1. Cut fabrics into 2 3/4" wide strips.
2. Sew two strips together - one grey and one yellow.
3. Cut each strip into 5" squares.
4. Lay cut squares out on a flat surface to form quilt top.
5. I designed this quilt having the squares set on point so you will need to sew the squares together in diagonal rows.
6. Sew rows together taking care to match your seams.
7. Trim edges of quilt top.
8. Cut two 1 1/2"wide x 28" long strips for ties. Fold in half right sides together and stitch along the long side. Turn out. Neaten ends.
9. Measure 10" down quilt side from the top and position tie - one on each side.
I hope you enjoyed Joannes Designs Week46. Just 6 patterns to go!
My Amazon ads are my affiliate links. Thank you.
- Home
- 52 Week Challenge
- Week 46


New! Comments
Have your say about what you just read! Leave me a comment in the box below.